In this blog article, you will learn about setting up Angular development environment and executing the angular project.
- Angular is a TypeScript-based open-source full-stack web application framework led by the Angular Team at Google and by a community of individuals and corporations.
- Angular 8 was released on May 28, 2019
Steps to setup Angular Development Environment
Step 1: Install Node.js and npm package manager
a) Download and Install Node.js from https://nodejs.org (.msi file)
b) Angular requires Node.js version 10.9.0 or later.
To check your version, run node -v in a console window.
To check that you have the npm client installed, run npm -v in a console window.
Step 2: Install the Angular CLI
You use the Angular CLI to create projects, generate application and library code, and perform a variety of ongoing development tasks such as testing, bundling, and deployment. To install the CLI using npm, open a console window and enter the following command:npm install -g @angular/cli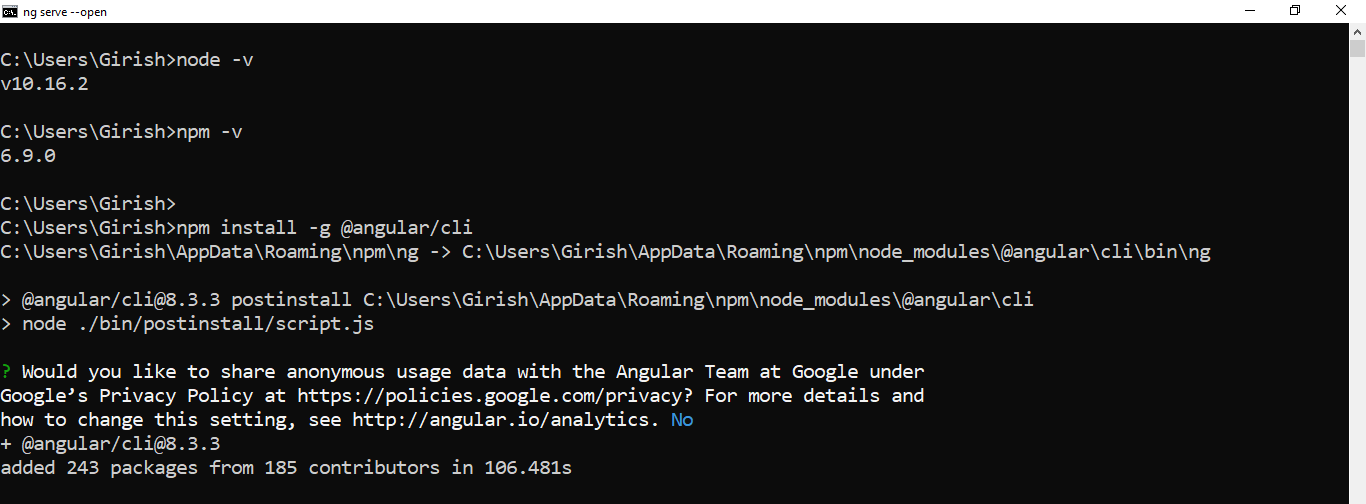
Step 3: Create a workspace and initial application
Run the CLI command ng new and provide the name my-app, as ng new my-app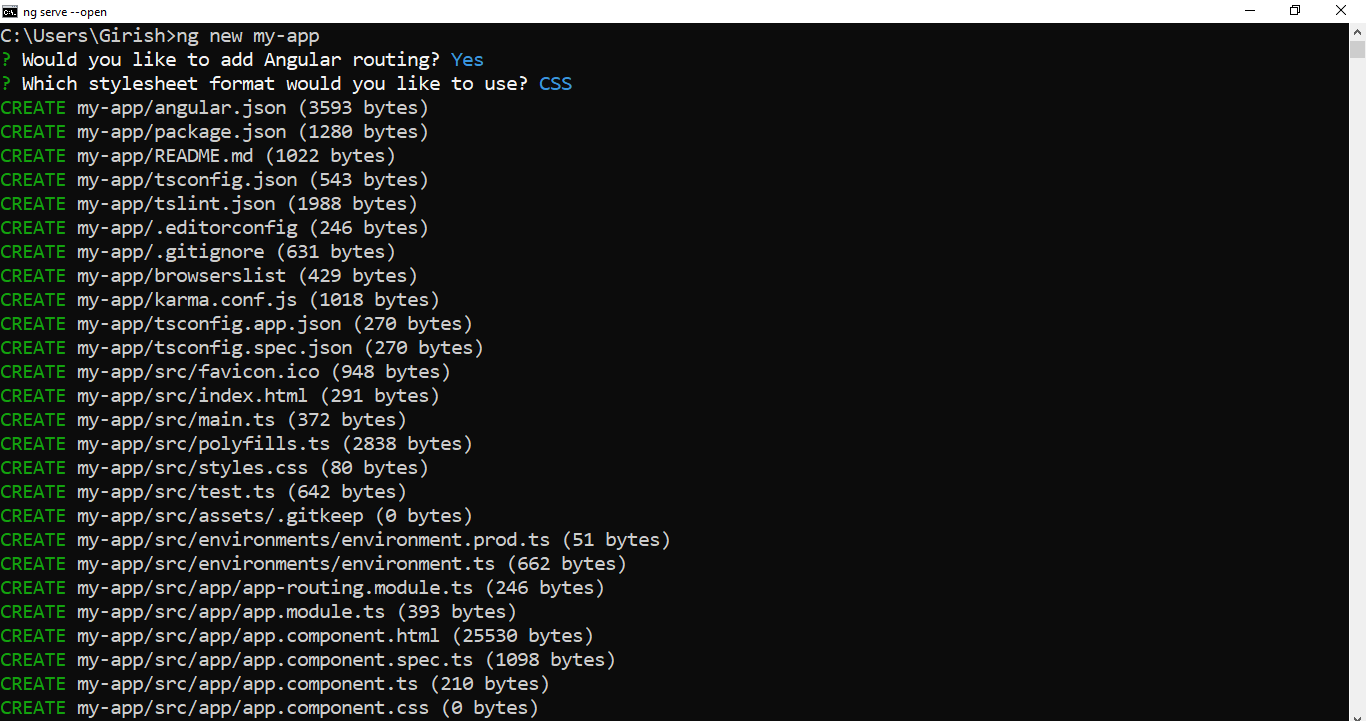
Step 4: Run the application
Go to the workspace folder (my-app). Launch the server by using the CLI command ng serve, with the –open option.cd my-app
ng serve --open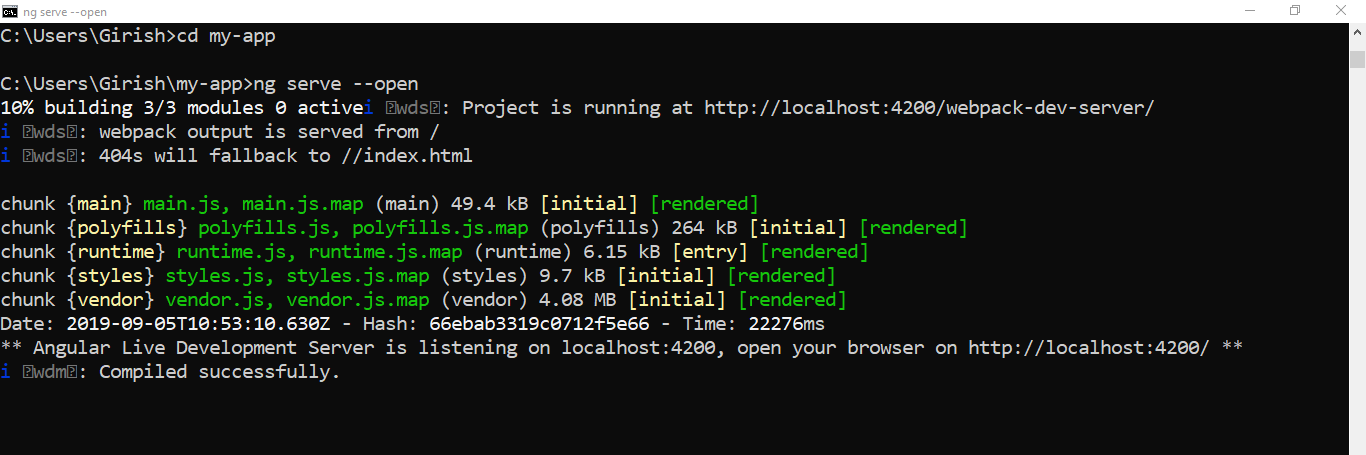
The ng serve command launches the server, watches your files, and rebuilds the app as you make changes to those files.
The –open option automatically opens your browser to http://localhost:4200/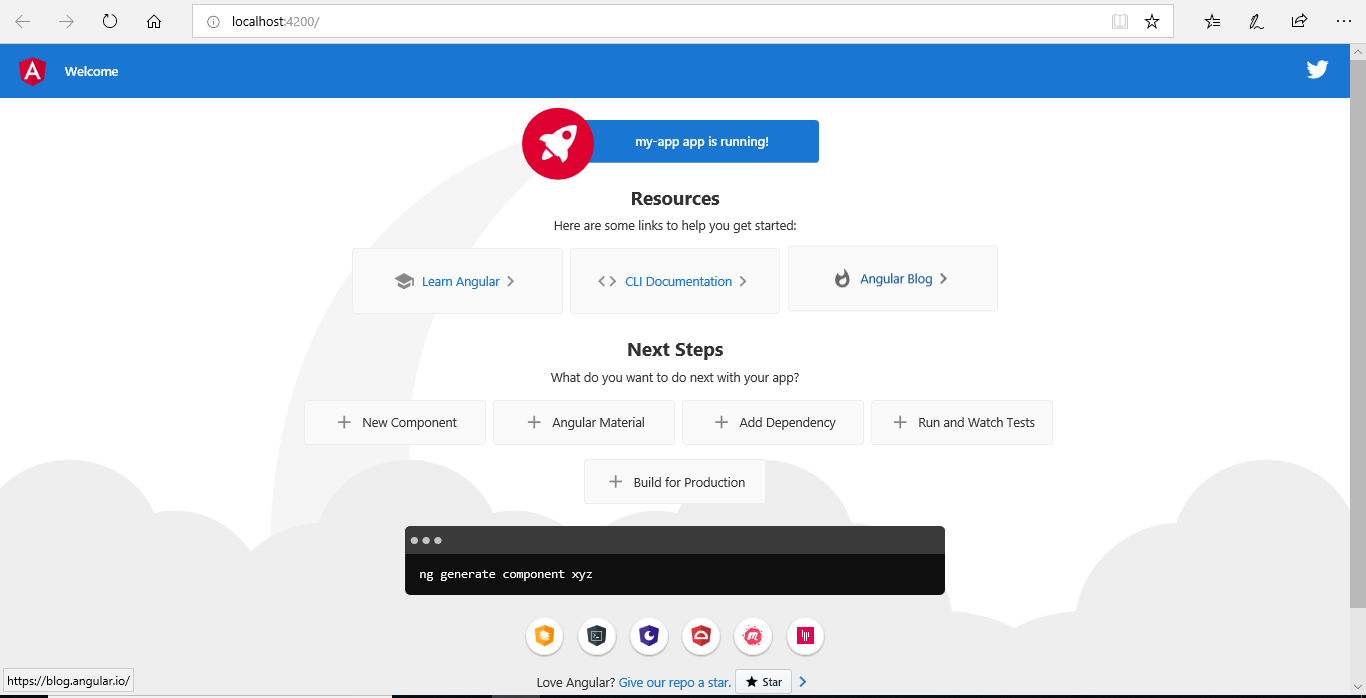
Check our other Angular Tutorials at Angular Tutorials
References
- https://angular.io/guide/setup-local
Learn more about Angular Components in our next Angular Blog article series.
Happy Learning!