- Ionic Framework is an open source UI toolkit for building performant, high-quality mobile and desktop apps using web technologies (HTML, CSS, and JavaScript)
- Ionic Framework is focused on the frontend user experience, or UI interaction of an app
- Currently, Ionic Framework has official integration with Angular, but support for Vue and React are in development
- With one codebase, you can build for any platform using familiar web tools and languages
Step 1: Install Node.js and NPM
Step 2: Install Ionic and Cordova
C:\>npm install -g ionic cordova #ionic ionic and cordovaStep 3: Create an App ionic start myapp1
C:\>ionic start myapp1
Let's pick the perfect starter template!
Starter templates are ready-to-go Ionic apps that come packed with everything you need to build your app. To bypass this
prompt next time, supply template, the second argument to ionic start.
? Starter template: (Use arrow keys)
tabs | A starting project with a simple tabbed interface
sidemenu | A starting project with a side menu with navigation in the content area
> blank | A blank starter project
my-first-app | An example application that builds a camera with gallery
conference | A kitchen-sink application that shows off all Ionic has to offer
? Starter template: blank
√ Preparing directory .\myapp1 - done!
/ Downloading and extracting blank starter (100.00%)
Installing dependencies may take several minutes.
.....
> git.exe init
Initialized empty Git repository in C:/Users/Girish/myapp1/.git/
> git.exe add -A
......
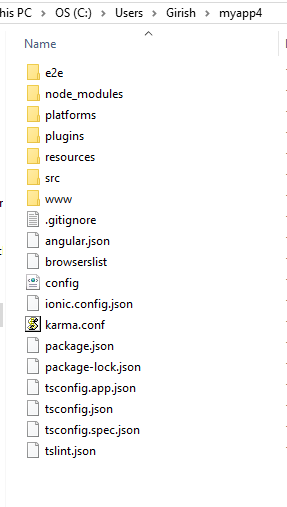
create mode 100644 .gitignore
create mode 100644 angular.json
create mode 100644 browserslist
create mode 100644 e2e/protractor.conf.js
create mode 100644 e2e/src/app.e2e-spec.ts
create mode 100644 e2e/src/app.po.ts
create mode 100644 e2e/tsconfig.json
create mode 100644 ionic.config.json
create mode 100644 karma.conf.js
create mode 100644 package-lock.json
create mode 100644 package.json
create mode 100644 src/app/app-routing.module.ts
create mode 100644 src/app/app.component.html
create mode 100644 src/app/app.component.scss
create mode 100644 src/app/app.component.spec.ts
create mode 100644 src/app/app.component.ts
create mode 100644 src/app/app.module.ts
create mode 100644 src/app/home/home.module.ts
create mode 100644 src/app/home/home.page.html
create mode 100644 src/app/home/home.page.scss
create mode 100644 src/app/home/home.page.spec.ts
create mode 100644 src/app/home/home.page.ts
create mode 100644 src/assets/icon/favicon.png
create mode 100644 src/assets/shapes.svg
create mode 100644 src/environments/environment.prod.ts
create mode 100644 src/environments/environment.ts
create mode 100644 src/global.scss
create mode 100644 src/index.html
create mode 100644 src/main.ts
create mode 100644 src/polyfills.ts
create mode 100644 src/test.ts
create mode 100644 src/theme/variables.scss
create mode 100644 src/zone-flags.ts
create mode 100644 tsconfig.app.json
create mode 100644 tsconfig.json
create mode 100644 tsconfig.spec.json
create mode 100644 tslint.json
[INFO] Next Steps:
- Go to your newly created project: cd .\myapp1
- Run ionic serve within the app directory to see your app
- Build features and components: https://ion.link/scaffolding-docs
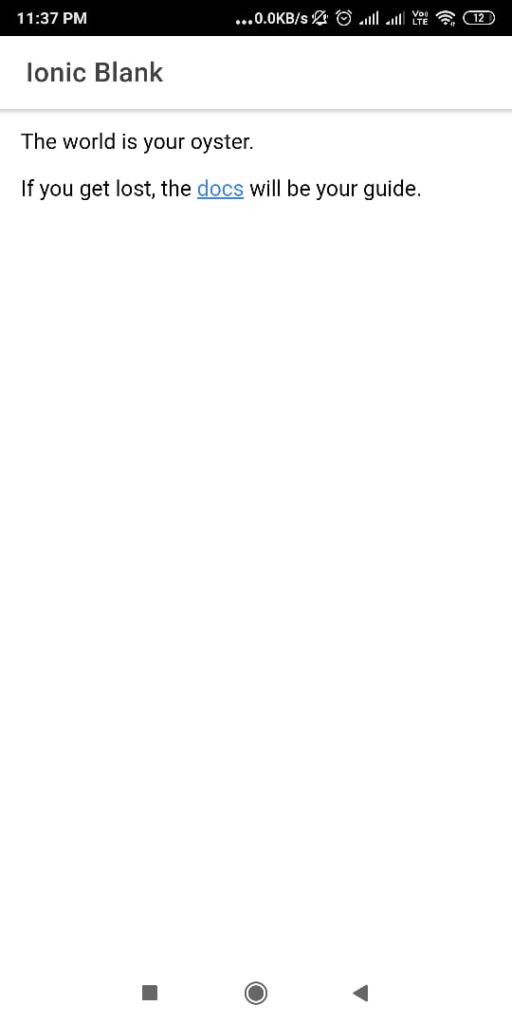
- Get Ionic DevApp for easy device testing: https://ion.link/devappStep 4: Run the App. Your Ionic app is now running in a web browser.
C:\>cd myapp1
C:\myapp1>ionic serve
C:\Users\Girish>cd myapp1
C:\Users\Girish\myapp1>ionic serve
> ng.cmd run app:serve --host=localhost --port=8100
[INFO] Development server running!
Local: http://localhost:8100
Use Ctrl+C to quit this process
[INFO] Browser window opened to http://localhost:8100!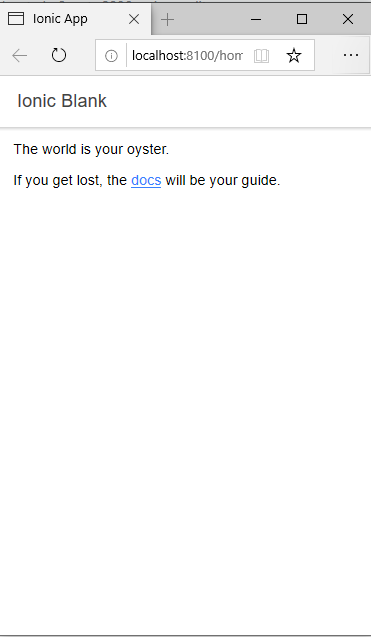
Step 5: Running on Device
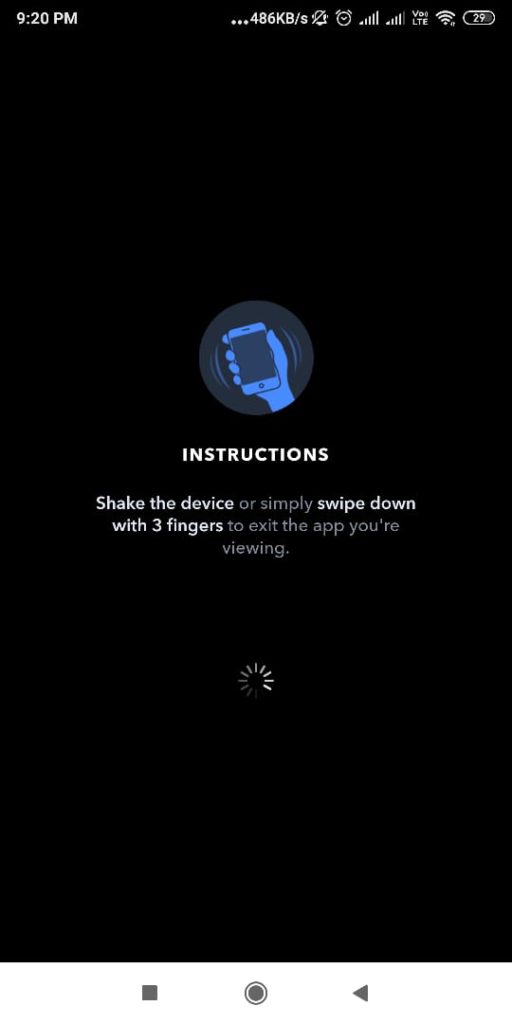
Ionic DevApp extends the capabilities of Ionic Framework, making it easy to test apps directly on devices. DevApp offers a realtime view of changes as they’re being made, with a rich library of pre-installed native plugins to test native features of the app. Download the Ionic DevApp from Google Play store. Create a free Ionic Account. An Ionic Account offers instantly access to Ionic Forum, DevApp and Ionic Appflow cloud features.
Before apps can be deployed to Android simulators and devices, the native project must be configured. Generate the native project, if it does not already exist. Type ionic cordova prepare android
C:\Users\Girish\myapp4>ionic cordova prepare android
> ionic integrations enable cordova
[INFO] Downloading integration cordova
[INFO] Copying integrations files to project
.......
[OK] Integration cordova added!
√ Creating .\www directory for you - done!
? Platform android is not installed! Would you like to install it? Yes
> cordova.cmd platform add android --save
.....
> ng.cmd run app:ionic-cordova-build --platform=android
.....
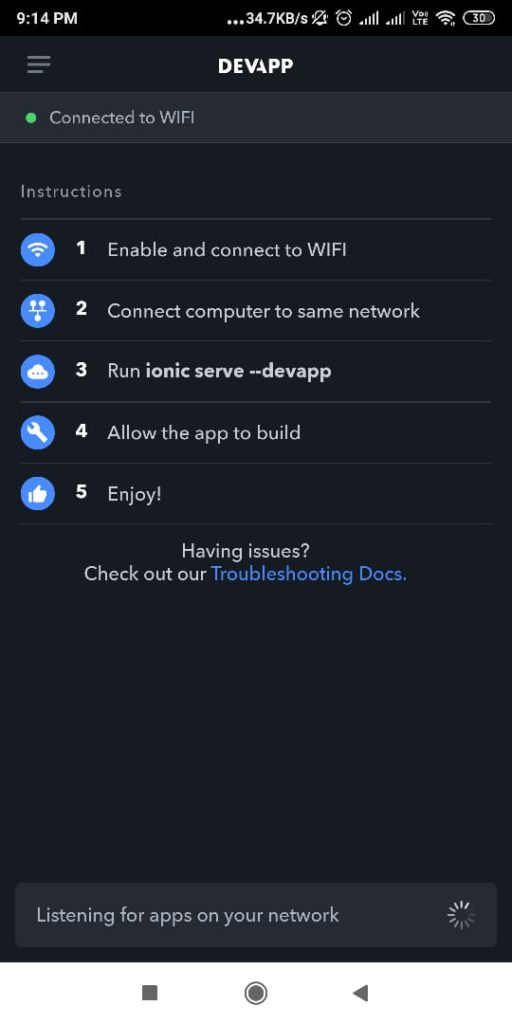
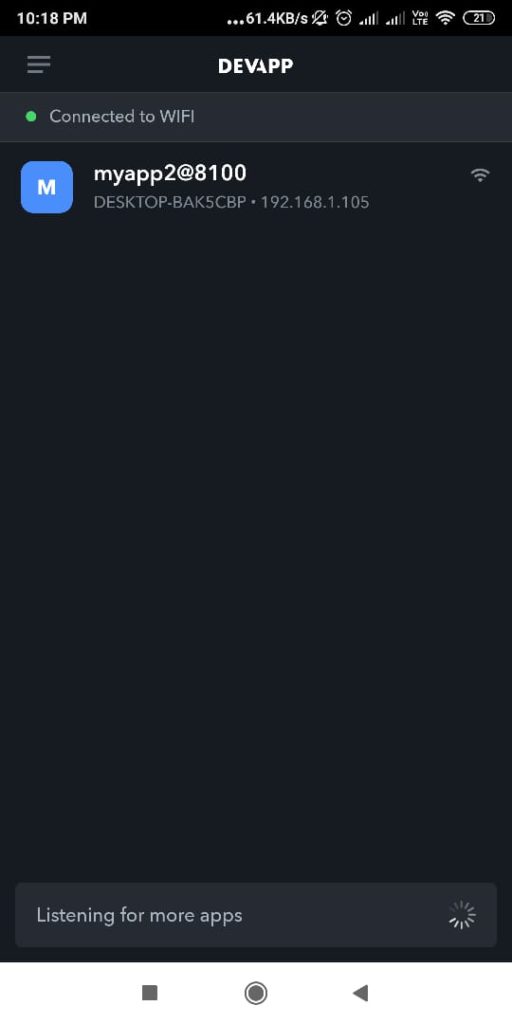
> cordova.cmd prepare androidMake sure the device running DevApp and the computer are on the same network, then run ionic serve from the command line in the project’s directory. With ionic serve running, open DevApp and select the app from the currently running app list. Type ionic serve --devapp
C:\Users\Girish\myapp4>ionic serve --devapp
> ng.cmd run app:ionic-cordova-serve --host=0.0.0.0 --port=8100 --cordova-mock --consolelogs --consolelogs-port=53703
.....
[INFO] Development server running!

       Local: http://localhost:8100
       External: http://192.168.1.105:8100
       DevApp: myapp4@8100 on DESKTOP-BAK5CBP

       Use Ctrl+C to quit this process

[INFO] Browser window opened to http://localhost:8100!
.......
[INFO] DevApp connection established from Mi MIX 2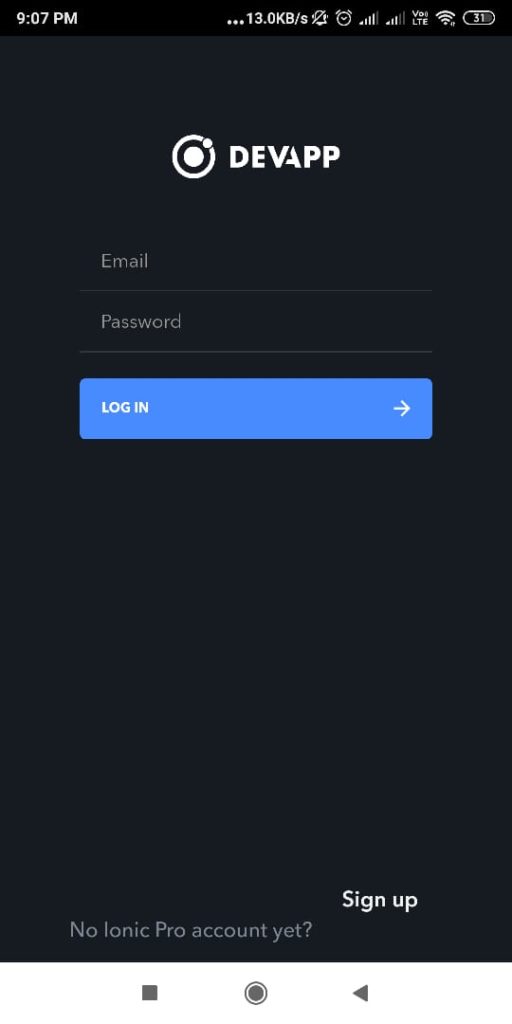
References
- https://ionicframework.com/docs/
Learn about more features of Ionic Framework in the upcoming blog articles.
Happy Learning!